Tasks & projects
A little structure. A lot of clarity.
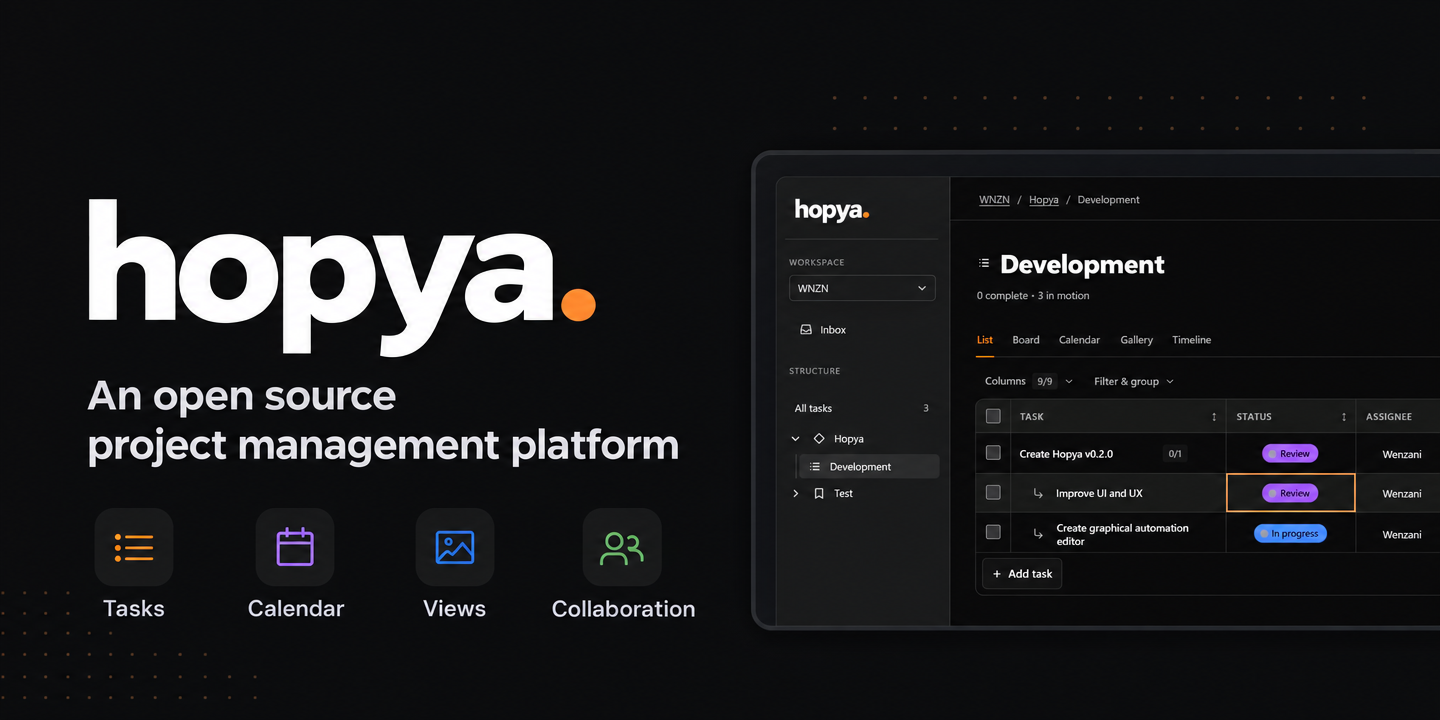
Give every task a home with workspaces, projects, folders, and lists. Add subtasks, checklists, and custom fields that fit how your team works.
Open source. Self-hosted. Yours.
A home for your team’s tasks, documents, tables, and more.
Less scattered work. More room to make things happen.
Self-host without a vendor account or mandatory cloud connection. Prefer a managed setup?
Your infrastructure.Run it on your own server.
Your workflow.Choose the tools you need.
Your data.Export it. Back it up. Keep it.
Useful tools. More possibilities.
Good tools should be within reach. We’re building Hopya to put useful productivity tools in more hands—with open source, a workspace you can run yourself, and the freedom to choose the help you need.
A workspace that fits
From the first idea to the final checkbox. The essentials live in one private workspace, with room to grow at your pace.
Give every task a home with workspaces, projects, folders, and lists. Add subtasks, checklists, and custom fields that fit how your team works.
Switch between List, Board, Calendar, Gallery, and Timeline. Find the view that makes the next step clear without rebuilding your work.
Write rich-text Documents and organize structured data in Tables. Sort, filter, calculate, and transfer records with CSV or JSON.
Assign work, mention teammates, and discuss the details in threaded comments. Private images, attachments, and a workspace Inbox keep things together.
Build branching automation workflows, use the REST API or MCP, and optionally connect AI or live SQL Tables. Your core workspace needs none of them.
Start with SQLite and local files, or choose PostgreSQL and S3-compatible storage. Manage access with workspace roles, revocable tokens, and audit records.
Make yourself at home
Bring Git, Docker, and Node.js 24. Hopya starts with SQLite and local file storage—no cloud account to connect first.
Generate private configuration. The initializer won’t replace an existing setup.
Docker Compose builds and starts the application on your server.
Open localhost:8888. Use your generated setup token to create the first administrator.
git clone https://github.com/wnzn/hopya.git
cd hopya
npm run init:env
docker compose up -d --build --wait
Prefer Docker only? Need HTTPS or complete backups? The deployment guide covers the next steps.
Read the deployment guideA little more support
Self-hosting is always an option. When you’d rather have a hand, talk to WNZN about cloud hosting, a managed setup, or help with your own deployment.
Prefer not to run the infrastructure yourself? Talk to us about a hosted or managed Hopya setup for your team.
Keeping Hopya on your own server? Get in touch about deployment, migration, integrations, or ongoing help with your instance.
Tell us about your team and what you need.
Email hello@wnzn.dev to start the conversation.
From possibility to practice
Readable guides, real workflows, and the details you need to make Hopya your own.
Give tasks a home, clarify ownership, and review work from the right view.
Read the team guideConnect Documents, typed Tables, and actionable task Lists without losing their purpose.
Read the content guideUse authenticated, workspace-scoped requests with deliberate writes and complete reads.
Read the API guideGood to know
Hopya is open source and can run on your own server. If you prefer a cloud or managed setup, talk to us about your needs. We can also discuss deployment, migration, integrations, and professional support. This site does not create a hosted account; the next step is a conversation with WNZN.
Git, Docker Engine, and Docker Compose. The standard initializer also uses Node.js 24; the repository includes a Docker-only alternative. After starting Hopya, use the generated setup token to create the first administrator. There are no public default accounts.
No. Local accounts, SQLite, and filesystem storage work out of the box. AI, OIDC sign-in, S3-compatible storage, and external integrations are optional.
Yes. Hopya supports task and workspace exports plus CSV/JSON Table transfer. Workspace exports include portable records and file metadata, not file bytes or account credentials. Use the deployment backup guide for complete recovery.
Hopya is an early release, not a production-readiness guarantee. Review the deployment and security guides, keep backups, and evaluate the features and integrations your team needs before relying on it for important work.
Make room for good work
Run it yourself, or talk to us about a managed setup. Either way, make room for your team’s best work.